Android提供了很多控件便于开发者进行UI相关的程序设计。但是很多时候,默认的一些UI设置不足以满足我们的需求,要么不好看,要么高度不够,亦或者是与应用界面不协调。于是这时候需要通过自定义样式或者自定义控件来实现。
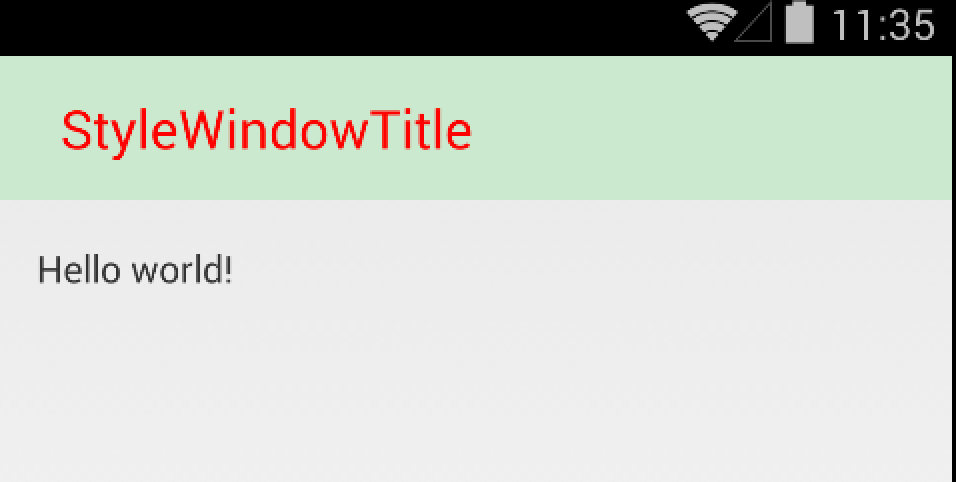
当然,在空间足以满足需求的情况下,通常需要定义样式就可以搞定。本文将简单介绍如何通过自定义样式来实现定义Window Title。
##先看一下效果图

##逐步实现
在res/values/styles.xml文件中加入下列代码
lineos:false res/values/styles.xml1
2
3
4
5
6
7
8
9
10
11
12
13
14
15
16
17
18
|
 <style name="MyActivityTheme" parent="android:Theme.Light" >
    	<item name="android:windowTitleBackgroundStyle">@style/windowTitleBackgroundStyle</item>
    	<item name="android:windowTitleStyle">@style/windowTitleStyle</item>
    	<!-- Window Header Height -->
    	<item name="android:windowTitleSize">54dp</item>
	</style>

	<!-- Preference Settings Window Title -->
	<style name="windowTitleBackgroundStyle">
    	<item name="android:background">#CCE8CF</item>
  	</style>

  	<style name="windowTitleStyle">
    	<item name="android:textColor">#FF0000</item>
    	<item name="android:paddingLeft">25dp</item>
    	<item name="android:textSize">20sp</item>
  	</style>
|
在Manifest中指定Activity或者Application的主题为上面定义的MyActivityTheme,下面以设置Activity为例。
lineos:false1
2
3
4
5
6
| <activity
android:name="com.example.stylewindowtitle.MainActivity"
android:label="@string/app_name"
android:theme="@style/MyActivityTheme"
>
<!--code goes here-->
|
##延伸阅读
Android中的属性
###其他


